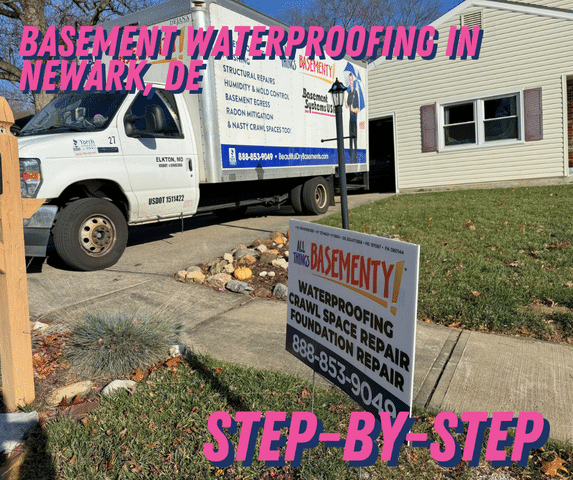
How We Replaced a Failing Basement System in Newark, DE
When this homeowner in Newark, DE told us their unfinished basement stayed damp even with an existing waterproofing system, we recommended a full system replacement rather than another band-aid. The goal was simple: stop water before it reaches the floor, seal the walls, add dependable pumping power, and control humidity so the space stays dry and healthy year-round. Below is the exact sequence our crew followed so you can see what a professional, lasting waterproofing upgrade looks like.
Step 1: Inspection & Planning
We began with a full walkthrough and inspection to confirm where moisture was entering and to check the layout of the existing system. That allowed us to determine things like the excavation points and sump location. Every home gets a custom-made system design to make sure the home's specific needs are met.
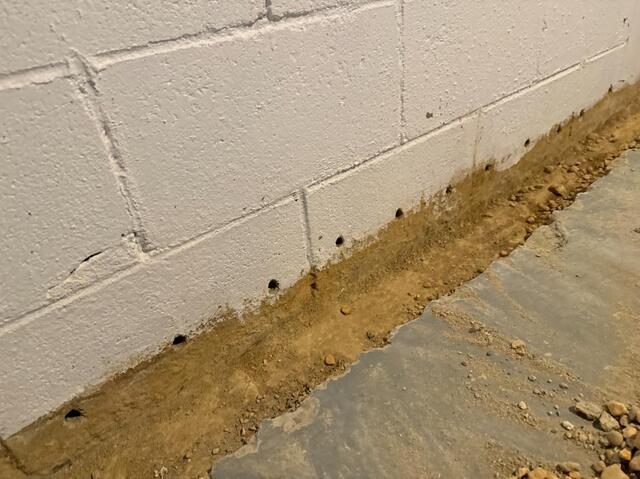
Step 2: Controlled Trenching Along The Footer
We dug a shallow, targeted trench along the interior perimeter down to the footing. This trench creates the space required for the WaterGuard channel and gives us access to tie into the footing area. The excavation is minimal and focused to keep the job neat and efficient.
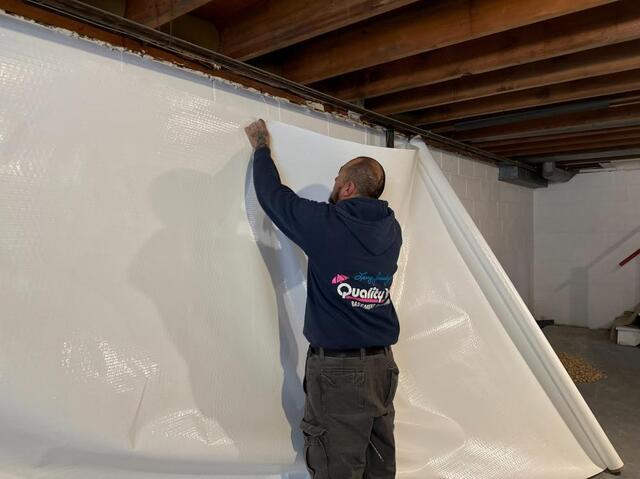
Step 3: Installing CleanSpace Vapor Barrier
Before placing the WaterGuard channel, we attached CleanSpace to the block walls. Installing the wall liner at this point makes sure any moisture that travels down the wall is guided directly into the drainage system rather than leaking into the basement. CleanSpace also gives a bright, finished look while blocking vapor and reducing odors.
Step 4: Laying WaterGuard System In Trench
With the walls sealed, we placed the WaterGuard drainage channel into the trench at the footing. WaterGuard captures seepage from the wall-floor joint and routes it to the sump. Because CleanSpace is already in place, any water traveling down the wall is directed cleanly into WaterGuard.
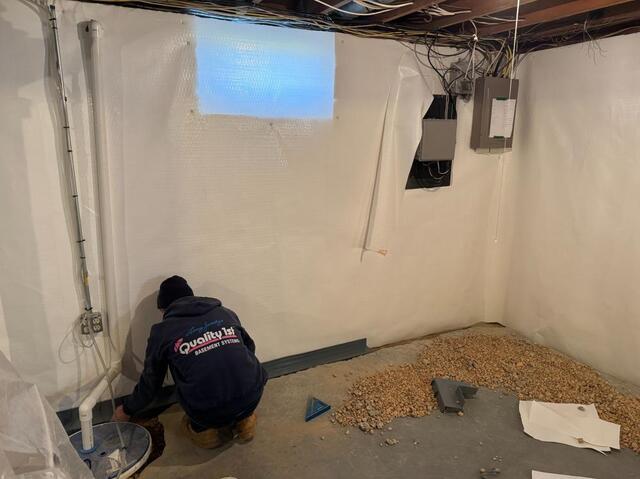
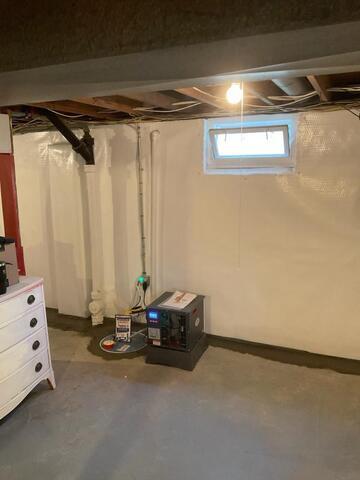
Step 5: Install The Sump Pump System
With the drainage system in place, our team installed the SuperSump, a high-performance pump designed to keep basements dry during storms and everyday seepage. The crew positioned the liner in the ideal spot for drainage flow, connected the discharge line, and sealed the lid to keep moisture, odors, and debris out. The SuperSump provides dependable protection and is a major upgrade from the homeowner’s old, ineffective system.

Step 6: Install The SaniDry Sedona Dehumidifier
To control humidity and eliminate musty odors, we installed a SaniDry Sedona dehumidifier and connected it to drain into the waterproofing system. This unit continuously filters and dries the air, preventing mold and keeping the basement comfortable.
Step 7: Test The Entire System
Before finishing, we ran water into the channel to test flow into the sump and verified the SuperSump pump is in working order. We also checked the SaniDry operation and confirmed CleanSpace seams were sealed. Testing ensures everything will perform under actual storm conditions.
Step 8: Backfill, Concrete Finish, & Cleanup
Once testing passed, we backfilled the trench and poured concrete to restore the slab edge for a smooth, finished look. We also completed any necessary wall finishing touch-ups and cleaned the work area so the basement looked restored.
Step 9: Final Walkthrough With Homeowner
Finally, we walked the homeowner through the system operation, explained routine checks (pump test, battery, dehumidifier maintenance), and provided warranty and system documentation.
FAQs
- How long did this install take? For this home the full replacement and finish took 2 days.
- Will this stop all basement odors? Yes. By stopping water entry and sealing the walls with CleanSpace, most musty odors caused by moisture are eliminated. If odors persist, we investigate for hidden mold or organic sources.
- Do I still need a dehumidifier? The SaniDry Sedona provides continuous humidity control; many homeowners find they no longer need separate units after installation.