Trench
A shallow trench was created around the interior perimeter to make space for the WaterGuard system.
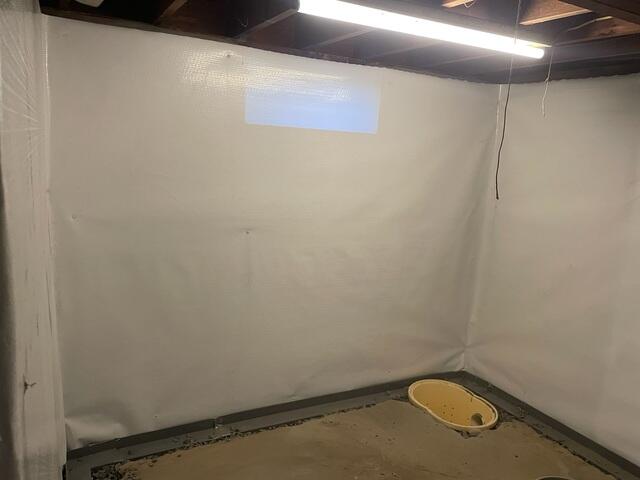
Sump Pump Installation
This photo shows the WaterGuard track in position, giving a behind-the-scenes look at how basement water gets stopped at the source. The sump pump in position, offering triple the protection from water intrusion.
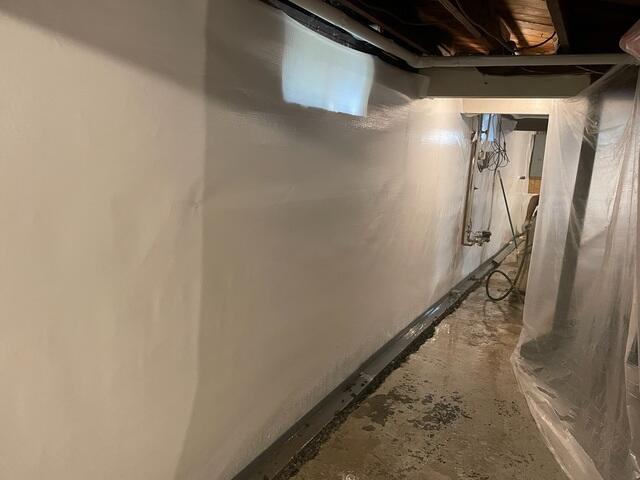
WaterGuard Installation
A closer look at the drainage system before finishing touches are made.
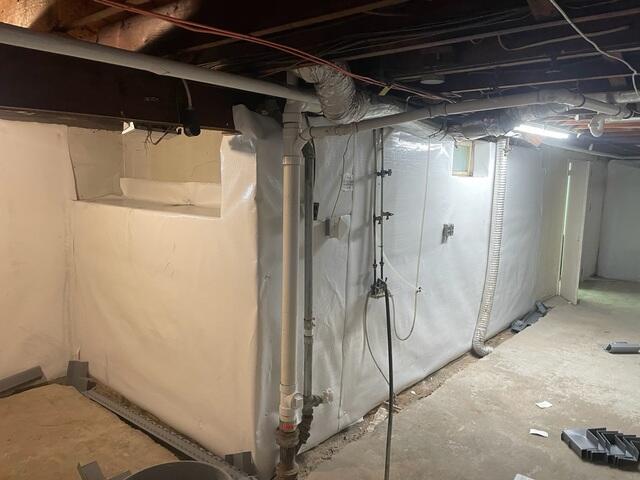
Installation Progress
Here you can see the WaterGuard system set in place along the perimeter trench, ready to redirect water before it ever reaches your basement floor.
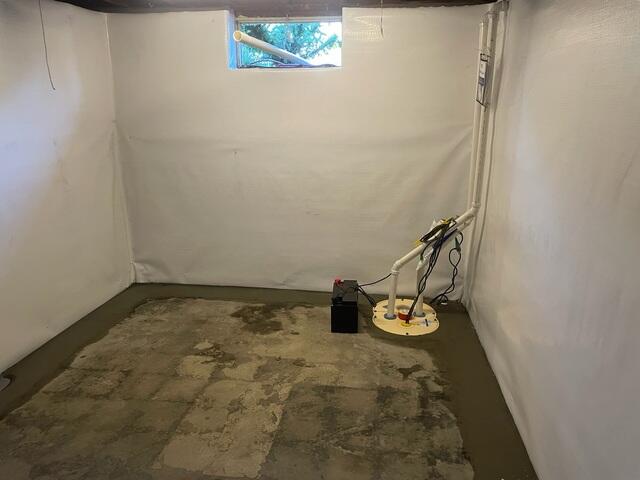
Waterproofing
The sump pump system is fully installed and ready to protect the basement from future water buildup. This clean concrete finish marks the final step in our WaterGuard installation, a hidden drainage system now working around the clock to keep this basement dry.
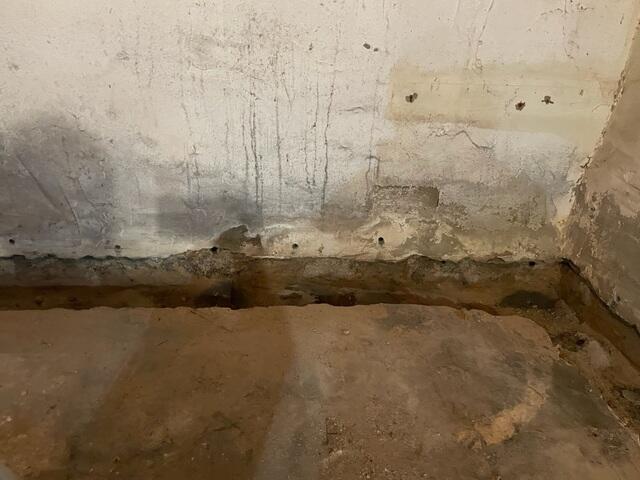
Trench Line
A precise trench was opened along the foundation wall to allow proper placement of the interior drainage line.
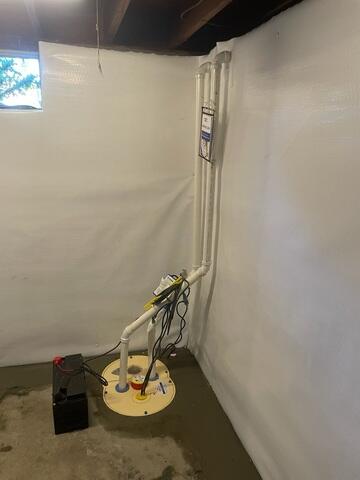
Sump Pump
Our team installed this sump pump with care to ensure long-term performance and minimal disruption to the space.
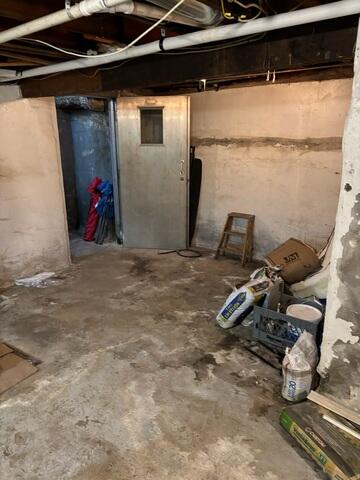
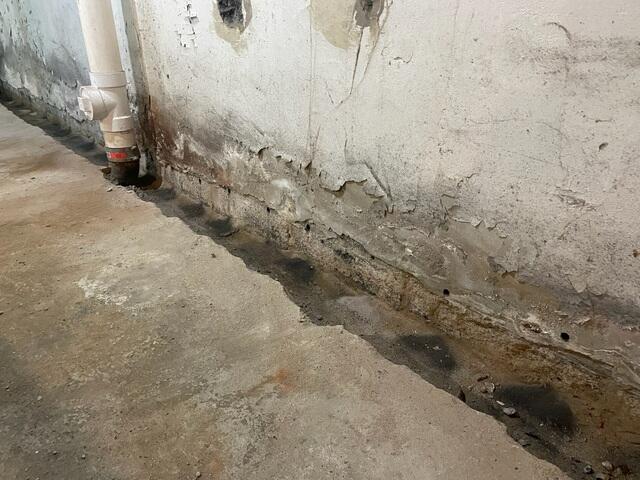
Basement
The damp basement before the waterproofing project.
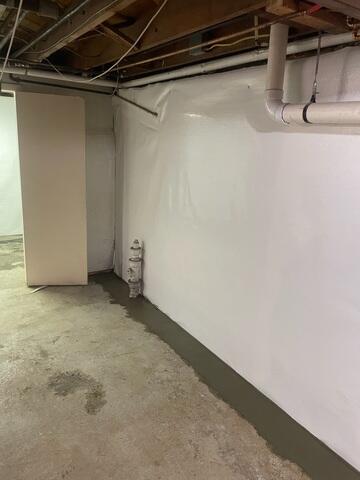
CleanSpace
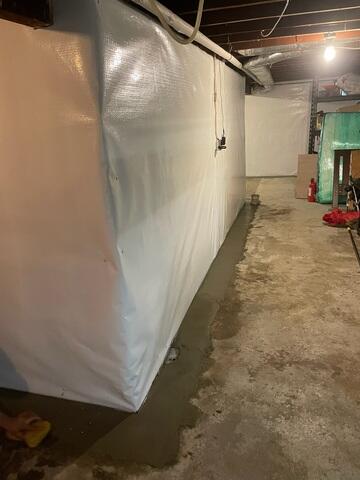
Our crew lined the basement with CleanSpace to create a bright, clean, and moisture-controlled environment.
WaterGuard
After carefully installing the WaterGuard along the basement walls, our crew sealed it in with concrete, leaving a clean edge and a much drier, safer space.


